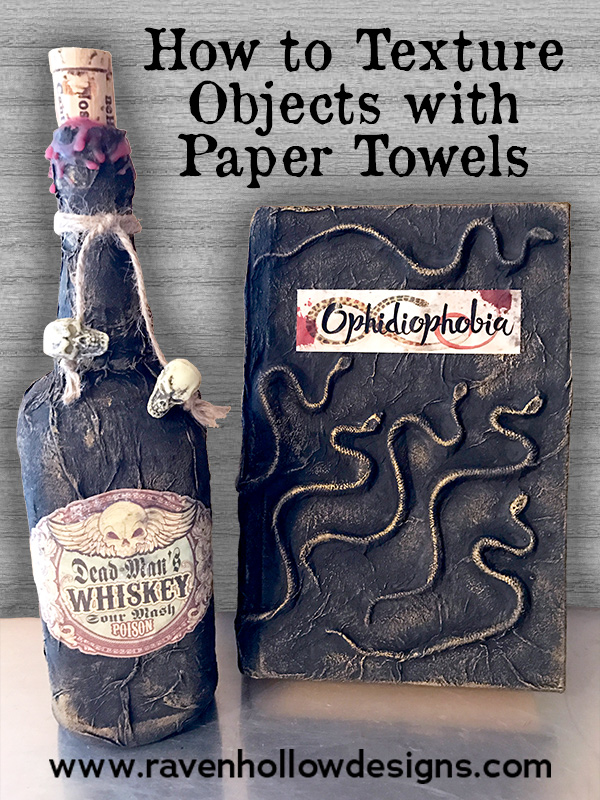
Spooky, atmospheric decorations are part of what makes a Halloween party so much fun. I love creating objects that my guests can pick up and examine, and that add that next level of creepiness to a display. Last year, I made a couple of spooky books and expanded on my bottle collection by experimenting with a texturizing technique using paper towels and glue.
The books and bottle I created look like they are covered in an old, worn, leathery texture. They even feel old. I first saw this technique on the blog Dave Lowe Design (davelowe.blogspot.com). Dave Lowe has an amazing prop blog with lots of tutorials, you should definitely check it out. Since then, I have found other people using the technique in posts that have been shared on Pinterest. It’s pretty easy to do and has pretty dramatic results.
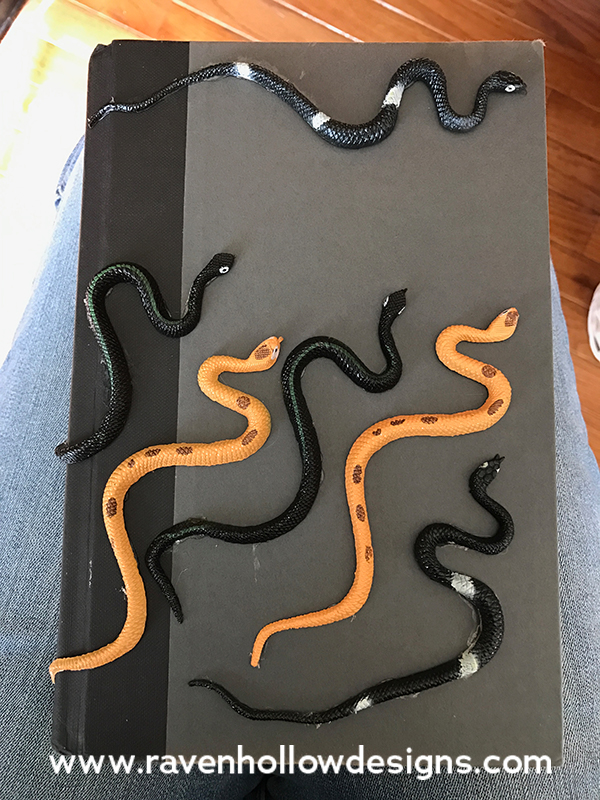
I started out with some old hardcover books and a bottle from the recycling bin. My first step was to hot glue small plastic snakes to the cover of the book, being sure to leave space on the front for a label. I wrapped the ends of a couple of the snakes around the spine of the book.
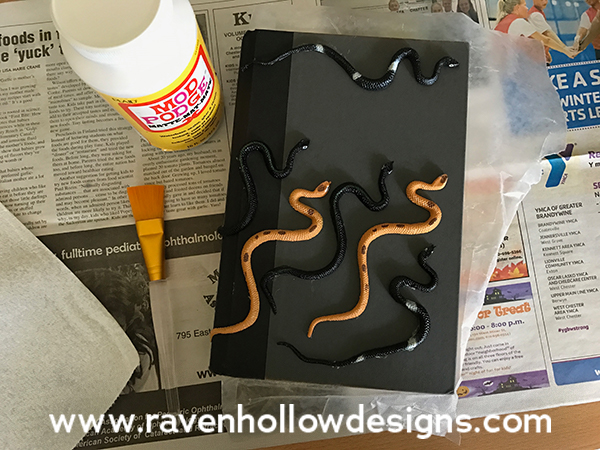
To create the leathery texture, I used Mod Podge glue and a brush, and paper towels that don’t have any quilted or embossed pattern on them. I think these are Bounty. You could use quilted paper towels but it’s possible the quilted pattern would show up when the book was finished. I don’t think it matters if there is a printed design on the paper towels, since they get covered in paint anyway.
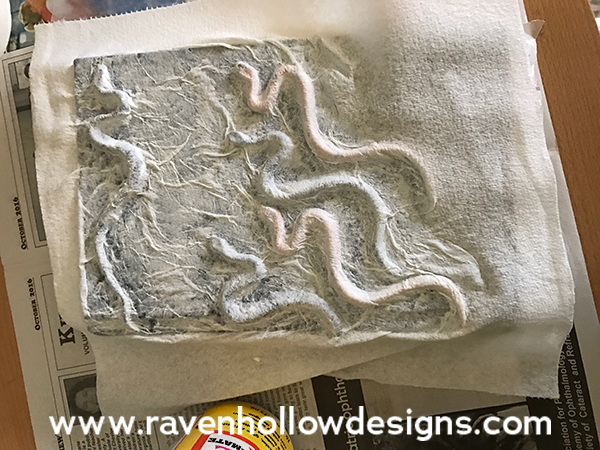
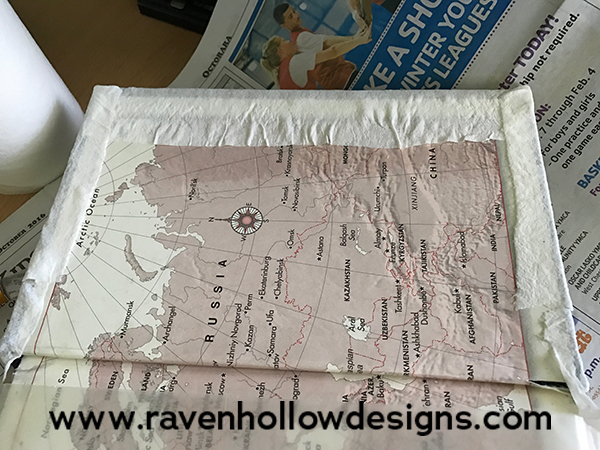
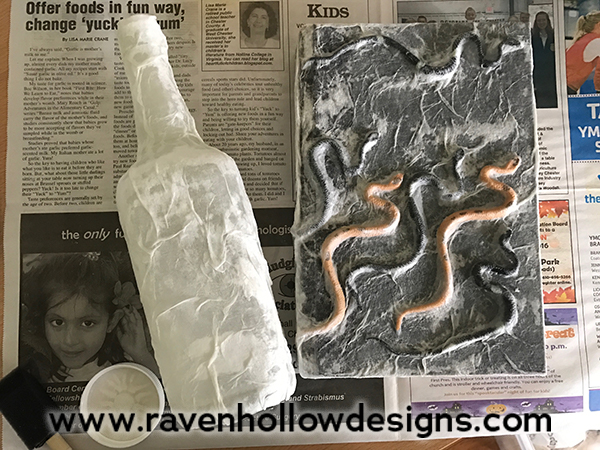
Use plenty of glue for the next step. Put a paper towel on top of the book cover and use the brush to start smudging glue directly on top. Dave Lowe recommends thinning the glue a bit with water, although I did not do this. It might have been a bit easier to move the glue around though if I had. Rather than brushing, I added the glue in dabs and smears, and moved the surface of the paper towels around a tiny bit to add wrinkles. I very carefully pushed the gluey paper towel around the snakes to bring out their dimension. If the paper towel tears a bit, you can fill in with some torn off bits and pieces.
I used a second paper towel to do the back of the book and wrapped the edges to the inside of the covers.
I used the same technique to cover a glass bottle and it worked just as well. When the glue dries, it looks somewhat clear.
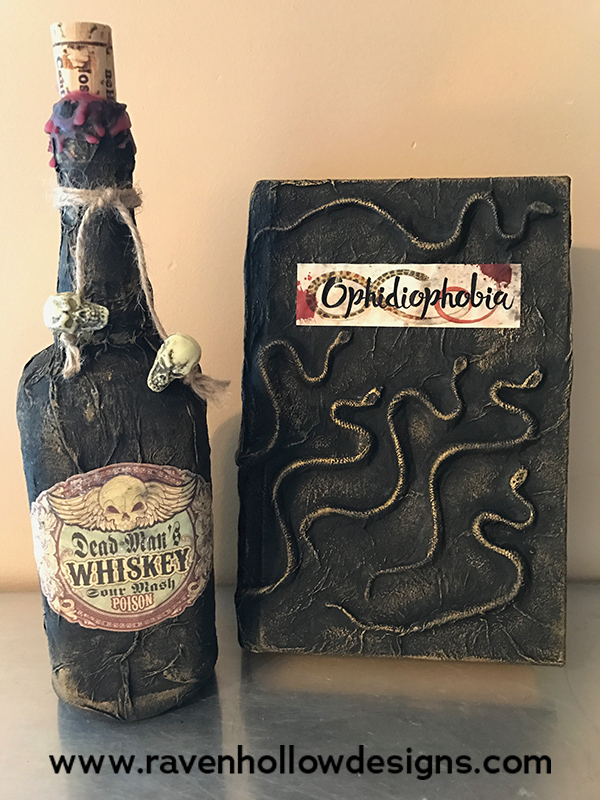
I then gave the books and bottle a couple of coats of black acrylic paint. After that was dry, I used a metallic paint in very tiny amounts to highlight the raised areas. Use a brush or finger to lightly smear the paint on the rough parts.
The final step was to design and print some labels and glue them on with Mod Podge. I lightly added a layer of Mod Podge to the top of the labels as well. I also added some extra embellishments to the bottle.
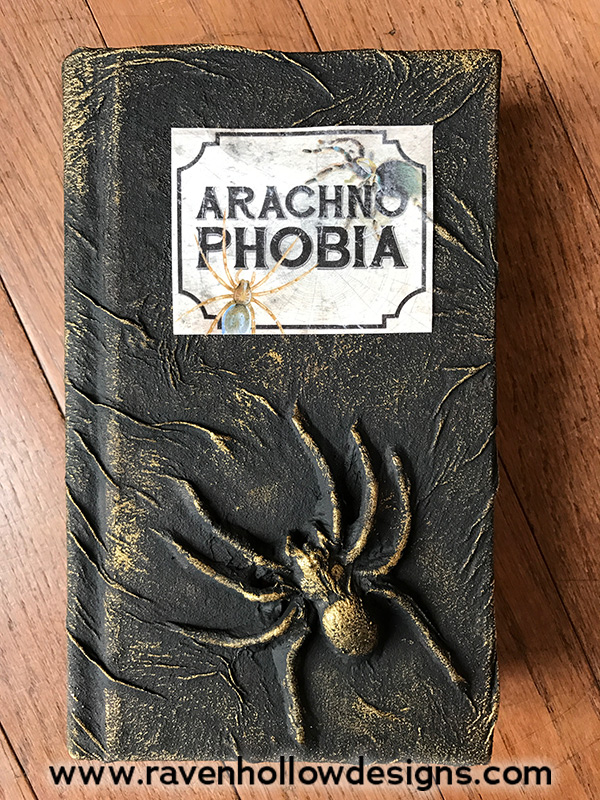
Here is a second book I created using a large plastic spider.
These books look great in my display with my potion bottles. Try it and see what you come up with!

