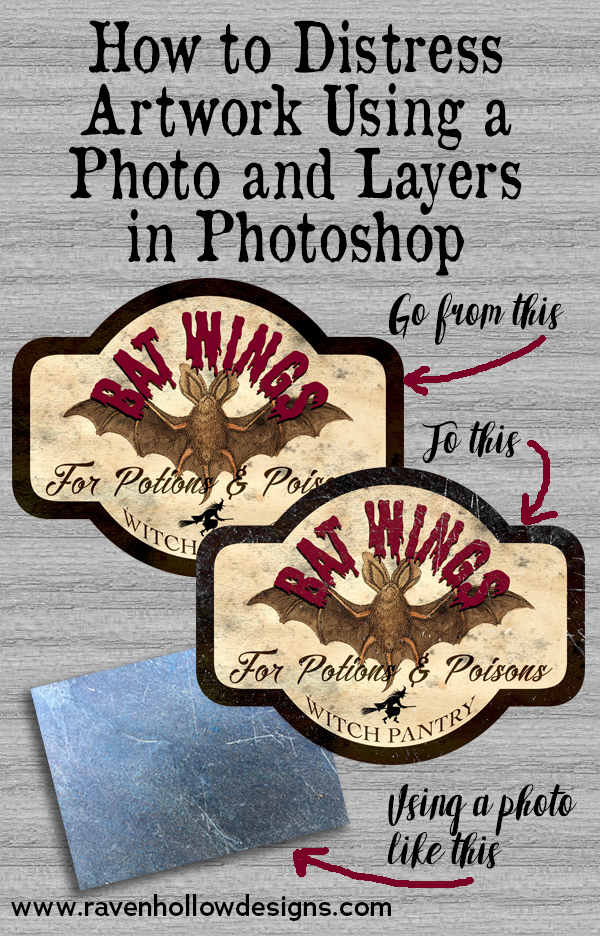
When it comes to Halloween decorating, oftentimes the older something looks, the spookier it seems. One ever-popular way to dress up your home for the season is to create potion, poison and apothecary bottles with creepy labels such as “Eye of Newt” and “Witches’ Brew.” As a graphic designer, I love creating these bottles because I get to design all kinds of labels for them. I also use these labels for other items, like invitations. To really add a finishing touch to the labels, I make them look worn and distressed using a layer effect in Photoshop and a photo I took of something that sounds very ordinary and random — the table on my deck.
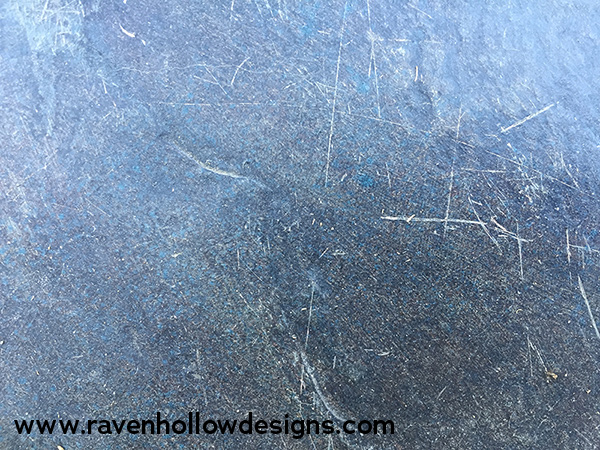
In order to create a distressed texture in Photoshop using a photo, you will need to first take a picture of something with a textured surface. I went around my house and took several pictures of things such as our worn out blended leather sofa, the concrete basement wall, and the photo I eventually used, which was of the top of my deck table. It’s got a faux stone look and is nicely scratched up from my kids scraping things around on it. Here is the original photo I took:
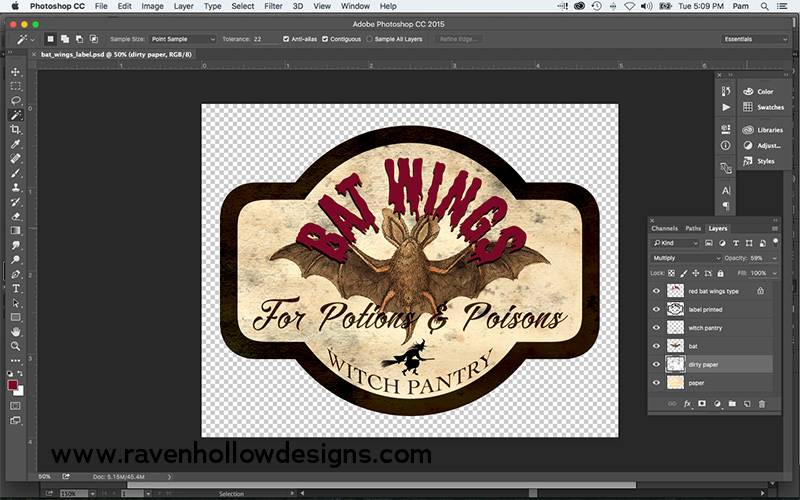
To begin with, I designed a new label to add to my already extensive collection (because I am a bit obsessed). The vintage bat image I used came from The Graphics Fairy — you can find lots of great vintage graphics there that are free to use. Here is the new label, in Photoshop, pre-distressing:
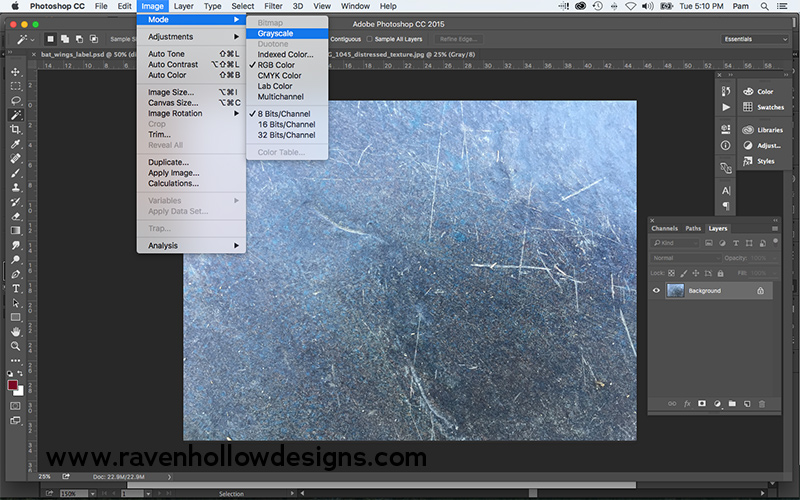
Then, I opened the photo of my deck table and changed the image mode to grayscale (see below).
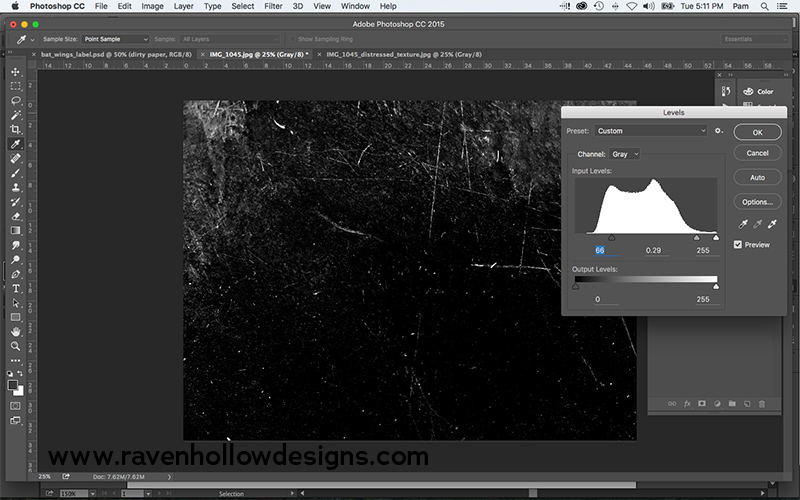
After changing the image mode to grayscale, I selected Image –> Adjustments –> Levels… to open the levels palette. By pushing the arrows for shadows and midtones to the right, I made my grayscale image mostly black with some white areas. You should mess around with these adjustments for your own photo, just make sure the photo becomes mostly black with some white streaks and speckles showing. Here’s what I came up with:
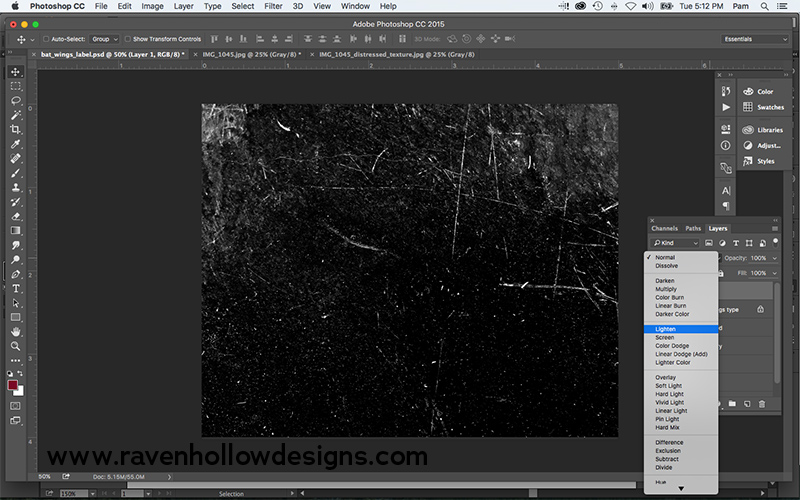
I then copied the black and white photo and pasted it into my bat label Photoshop file as the top layer. In the Layers palette, I chose the Lighten effect (see below).
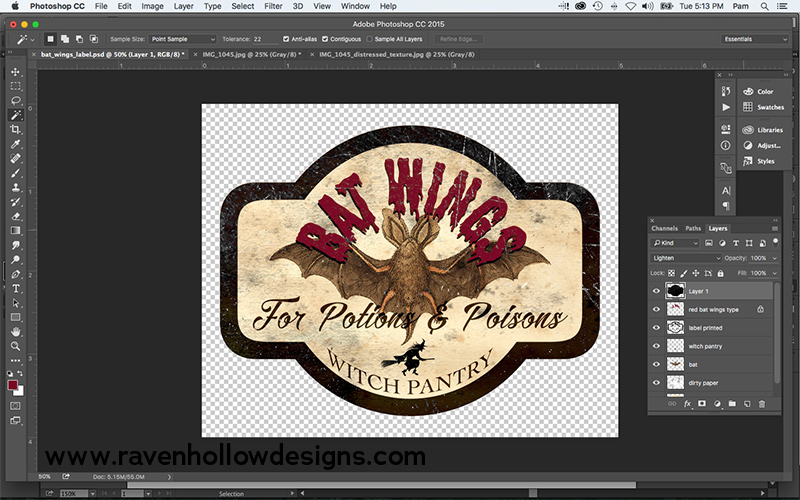
Voila! The white lines, speckles and scratches of the textured photo now become distressing for your label or artwork file. The last thing I did was select and delete the distressing layer from the outside of the label. Here is the final result:
Who knew my deck table would come in handy for anything other than eating? Try this with your own photos and make any artwork look vintage. Or go crazy with the Halloween labels, like me.

