
My sister-in-law is almost as obsessed with Halloween as I am. Almost. When her birthday was approaching this year, I knew exactly what I would make as her gift, for the front door of her new house. This spooky yet classy wreath will be greeting trick-or-treaters in style.

This is the first time I have made a wreath like this, but the hardest part was actually planning and selecting the design and pieces used in it. Basically I ended up going to the nearest big craft store and designed it on the fly using what elements I could find in the store. Better to do that than plan it out ahead of time and then not be able to find what I wanted. Here’s the stuff I found:

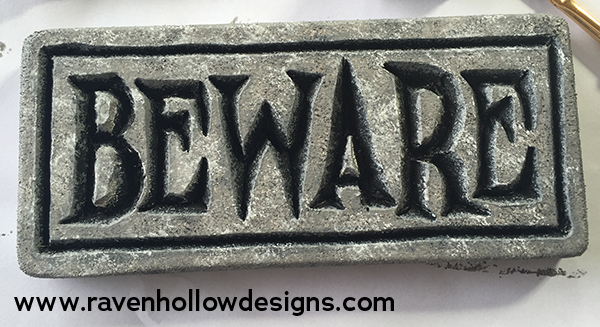
I chose a grapevine base wreath which made it easy to wire things onto it. Luckily, the store was ready for Halloween in early August so I was able to find black floral elements and didn’t have to spray paint anything. I’ve spray painted floral stuff before and it looks good but over time it tends to flake off. A foam skull (foam is important), plastic skeleton hands, a pre-made bow (I would have made one but this one looked great so why re-invent the wheel) and a skeleton cameo ornament rounded out my supplies. In the end, I didn’t use the skeleton cameo because it wasn’t substantial enough to balance out the skull. Instead, I made a foam “Beware” sign, which you can read about in my previous post, “A Basic Introduction to Carving and Painting Foam Board for Halloween Projects.” Here’s that finished sign:
First, I clipped off all the stems from the “greenery” and flowers, and added wire to the clipped roses.

I cut off the back of the foam skull (which is why I bought a foam one instead of plastic) to make it lay flatter to the wreath.

I used a craft knife to cut a shallow line in the ridge behind the jaw (that area between where I cut and the jaw), to make a place to add the wire for attaching it to the wreath.
The first pieces I wired to the grapevine wreath were the black “greenery,” which I attached using floral wire. Throughout this project, I used a combination of floral wire, regular thin craft wire, and black pipe cleaners, depending on how likely the wire was to show through. I have no training in this, but I figured, how hard could it be, and just shoved the ends of the wire through the grapevine and twisted. It worked. I let some of the floral pieces hang down at the bottom of the wreath. Then I added the bow, leaving a space above it for the skull.

Then I wired on the skull and placed the roses around it where they looked best.

It was a bit more difficult to add the “Beware” sign because I didn’t want to poke holes into it to wire it. So I used a combination of Liquid Nails and hot glue until I got it to stick. Not entirely pretty from the back but you’ll never see it from the front. After that, I wired two skeleton hands around the sign, making it look like the skeleton was holding it. I used black pipe cleaners for this because the wire was going to show no matter how I did it, and the black looked best.

Here’s the finished product:

It’s pretty sturdy because I wired the living daylights out of it, I figured too much is better than not enough. Now my sister-in-law will have a Halloween greeter at her door with a spooky message for trick-or-treaters.
If you make wreaths and have any tips for me to make this easier or better next time, please comment and let me know! I would love to hear from you.
